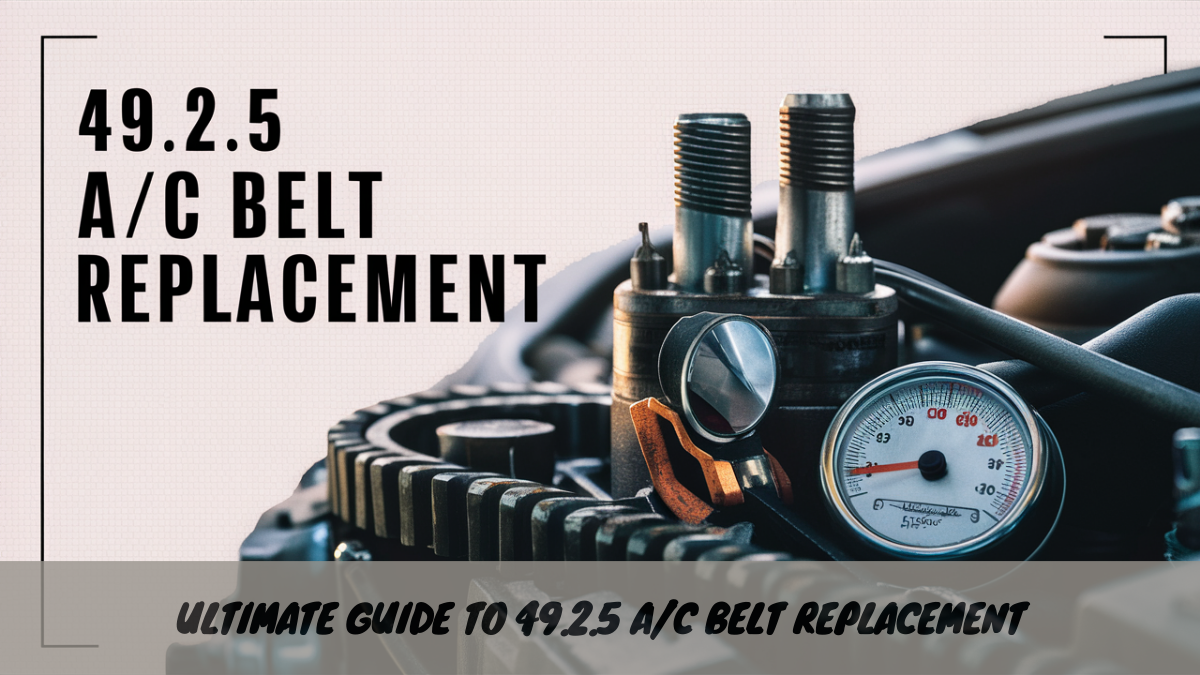
Ultimate Guide to 49.2.5 A/C Belt Replacement
Introduction
Replacing the A/C belt—often referred to as the serpentine belt—is crucial for keeping your vehicle’s air conditioning system running smoothly. The term “49.2.5 A/C Belt Replacement” refers to specific guidelines for performing this replacement.
49.2.5 A/C Belt Replacement ensures your vehicle’s air conditioning runs smoothly. Follow these precise guidelines for optimal performance and longevity of your A/C system.
This detailed guide will walk you through everything you need to know about the 49.2.5 A/C Belt Replacement, providing clear, actionable insights, and expert tips to ensure your replacement process is successful and your vehicle’s A/C system operates efficiently.
1. What Is the A/C Belt?
Definition and Purpose
The A/C belt, also known as the serpentine belt, is a crucial part of your vehicle’s engine. It powers several accessories, including the air conditioning compressor, power steering pump, and alternator. By driving these components, the A/C belt ensures they function correctly, which is essential for maintaining your vehicle’s comfort and performance.
Why It Matters
Maintaining the A/C belt in good condition is vital for ensuring your air conditioning system runs efficiently. A well-functioning belt prevents breakdowns and helps keep your engine components in good working order, which can save you from costly repairs down the line.
2. Understanding the 49.2.5 A/C Belt Replacement
What Is 49.2.5 A/C Belt Replacement?
The “49.2.5 A/C Belt Replacement” refers to a specific set of replacement procedures and guidelines. These standards are designed to ensure that the replacement process is carried out correctly, thereby enhancing the performance and longevity of your A/C system.
Why Follow These Guidelines?
Adhering to the 49.2.5 guidelines helps avoid common pitfalls during the replacement process. These standards provide a clear, systematic approach to replacing the A/C belt, reducing the risk of mistakes and ensuring the job is done right the first time. Following these guidelines also helps preserve any warranties associated with the parts and your vehicle.
Benefits of Proper Replacement
Proper replacement of the A/C belt leads to:
- Improved Performance: Ensures that the air conditioning system works efficiently.
- Extended Lifespan: Prevents early wear on other engine components.
- Reduced Risk of Failure: Minimizes the chance of unexpected breakdowns.
3. Signs You Need a New A/C Belt
Unusual Noises
If you hear squealing or chirping noises coming from the engine area, it could be a sign that the A/C belt is worn out or loose. These noises typically indicate that the belt is not making proper contact with the pulleys.
Decreased Air Conditioning Performance
A drop in the cooling performance of your A/C system may be due to a failing belt. If the air conditioning isn’t as effective as it used to be or if it’s cycling on and off unpredictably, it’s time to check the belt.
Visible Wear and Tear
Inspect the belt for cracks, fraying, or glazing. Any visible damage is a clear indicator that the belt needs to be replaced. Regular inspections can help you catch these issues early and avoid more severe problems.
4. Preparing for the A/C Belt Replacement
Tools and Equipment
Before you start, gather the following tools:
- Socket Set: For removing and tightening bolts.
- Belt Tension Gauge: To measure the tension of the new belt.
- Pliers: To handle any retaining clips or fasteners.
- New A/C Belt: Ensure it matches the specifications for your vehicle.
Safety Precautions
Take these safety steps:
- Disconnect the Battery: Prevent electrical accidents or shorts.
- Cool Down the Engine: Allow the engine to cool before you start working to avoid burns.
- Proper Lifting: Use a reliable jack and jack stands if lifting the vehicle.
Vehicle Preparation
Prepare your vehicle by:
- Parking on a Level Surface: Ensure stability and safety.
- Engaging the Parking Brake: Keep the vehicle from rolling.
- Removing Obstructions: Clear away any components that block access to the A/C belt.
5. Step-by-Step Replacement Process
Locating the A/C Belt
Consult your vehicle’s service manual to find the exact location of the A/C belt. Typically, it runs along the front of the engine and wraps around several pulleys. You might need to remove some engine covers or other parts to access it.
Removing the Old A/C Belt
- Loosen the Tensioner: Use a wrench to release the tension on the belt.
- Remove the Belt: Slide the belt off the pulleys and take it out of the engine compartment.
- Inspect Components: Check the condition of the pulleys and tensioner for any damage or excessive wear.
Installing the New A/C Belt
- Position the New Belt: Route the new belt around the pulleys according to the diagram provided in your vehicle’s manual.
- Adjust Tension: Use a belt tension gauge to make sure the belt is properly tensioned. Follow the specifications for your vehicle.
- Check Alignment: Ensure the belt is aligned correctly and is running smoothly on the pulleys.
Testing the Installation
Start the engine and listen for any unusual noises. Verify that the A/C system is working correctly and that the belt operates without slipping or vibration.
6. Troubleshooting Common Issues
Misalignment
If the belt appears misaligned, it can cause premature wear and affect performance. Check the alignment and adjust as necessary to ensure the belt runs straight on the pulleys.
Belt Slippage
Slippage occurs when the belt doesn’t stay in place on the pulleys. This could be due to incorrect tension or worn components. Adjust the tension and inspect the pulleys for any signs of damage.
Tensioning Issues
Incorrect tension can lead to performance problems. Use a belt tension gauge to make sure the belt is set to the correct tension. Adjust as needed to avoid issues like slipping or excessive wear.
7. Maintenance Tips for Longevity
Regular Inspections
Check the A/C belt regularly for signs of wear. Look for cracks, fraying, or other damage, and replace the belt if necessary. Regular inspections help prevent unexpected failures.
Proper Tensioning
Ensure the belt is neither too tight nor too loose. Proper tension is essential for optimal performance and longevity of the belt.
Avoiding Mistakes
Avoid using the wrong belt size or improper installation techniques. Always refer to the manufacturer’s guidelines and your vehicle’s service manual to ensure proper replacement and installation.
8. DIY vs. Professional Replacement
DIY Replacement
Pros:
- Cost Savings: Save on labor costs by doing it yourself.
- Learning Opportunity: Gain hands-on experience with vehicle maintenance.
Cons:
- Time-Consuming: The process can take a significant amount of time.
- Risk of Errors: Incorrect installation can lead to additional problems.
Professional Replacement
Pros:
- Expertise: Professionals have the experience and tools to do the job correctly.
- Time Efficiency: Faster than most DIY attempts.
Cons:
- Higher Cost: Professional services can be more expensive.
- Less Personal Involvement: You won’t have hands-on experience.
9. Cost Analysis
Replacement Parts
The cost of the new A/C belt can vary depending on the make and model of your vehicle. Generally, belts are affordable, but prices can differ based on quality and brand.
Labor Costs
If you choose to have the replacement done professionally, labor costs will vary. Typically, you can expect to pay for the service based on the time required for the job.
Budgeting
When budgeting for A/C belt replacement, consider both parts and labor. Doing it yourself will save on labor costs, but professional help ensures the job is done right.
10. Conclusion
Replacing the A/C belt is a crucial maintenance task that ensures your vehicle’s air conditioning system operates efficiently. By following the 49.2.5 A/C Belt Replacement guidelines, you can perform this replacement accurately and effectively. Whether you choose to tackle the job yourself or seek professional help, understanding the process and common issues will help you maintain your vehicle’s comfort and performance.
11. FAQs
1. How often should I replace the A/C belt?
It’s recommended to check the A/C belt every 30,000 to 60,000 miles, depending on your vehicle’s make and model. Replace it if you notice signs of wear or damage.
2. Can I drive with a worn-out A/C belt?
Driving with a worn-out A/C belt can lead to decreased performance of your air conditioning system and potential damage to
other engine components. It’s best to replace it as soon as possible.
3. How can I tell if the A/C belt is properly tensioned?
Use a belt tension gauge to measure the tension of the belt. Refer to your vehicle’s service manual for the correct tension specifications.
4. What tools are needed for A/C belt replacement?
You’ll need a socket set, belt tension gauge, pliers, and a new A/C belt. Ensure you have the correct size and type of belt for your vehicle.
5. Is it better to replace the A/C belt myself or hire a professional?
If you have the necessary tools and experience, you can replace the belt yourself to save on labor costs. However, hiring a professional ensures the job is done correctly and efficiently.