49.2.5 A/C Belt Replacement – Your Ultimate Guide
When your car’s air conditioning starts acting up, the culprit might be a worn-out A/C belt. Specifically, if your vehicle uses a 49.2.5 A/C belt, understanding how to replace it can save you time, money, and the discomfort of driving without cool air.
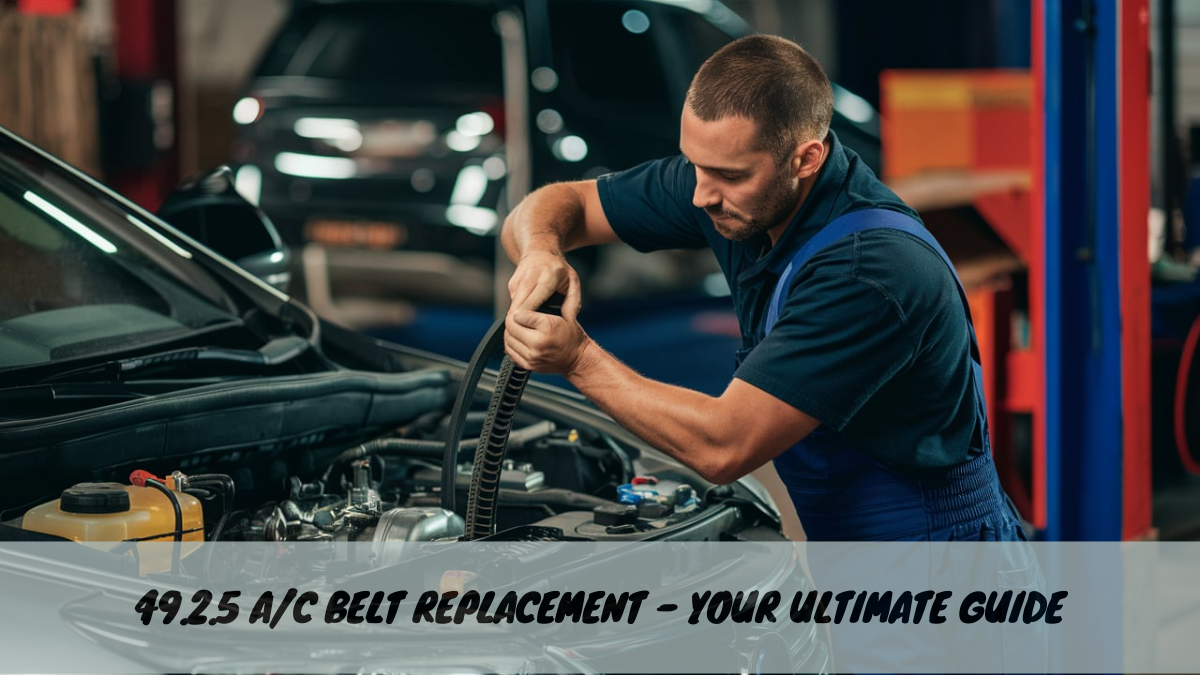
Replacing your 49.2.5 A/C belt is crucial for maintaining proper air conditioning performance. Follow this guide to replace the belt, ensuring your vehicle’s A/C system runs smoothly and efficiently.
This guide provides a step-by-step process to help you replace the 49.2.5 A/C belt with ease.
What Is the 49.2.5 A/C Belt?
The A/C belt, often part of the serpentine belt system, is a vital component of your vehicle’s air conditioning system. The “49.2.5” refers to a specific size and type of belt used in certain vehicles. This belt powers the air conditioning compressor, enabling it to cool the air that circulates through your car’s cabin.
Functions of the 49.2.5 A/C Belt:
- Drives the A/C Compressor: Ensures your air conditioning system operates effectively.
- Powers Other Engine Components: In some vehicles, it also drives the alternator, water pump, and power steering pump.
- Maintains Engine Efficiency: A properly functioning belt contributes to the overall efficiency of the engine.
Signs You Need a 49.2.5 A/C Belt Replacement
Knowing when to replace your A/C belt can prevent further damage to your vehicle. Here are some key signs that indicate it’s time for a new 49.2.5 A/C belt:
1. Squealing or Chirping Noises:
- If you hear high-pitched squealing noises when you start the engine or turn on the A/C, it might be a sign that the belt is loose or worn.
2. Poor A/C Performance:
- If your air conditioning system is blowing warm air or not working at all, the A/C belt might be the problem.
3. Visible Wear and Tear:
- Regularly inspect the belt for cracks, fraying, or glazing. Any visible damage means the belt should be replaced immediately.
4. Electrical or Steering Issues:
- In vehicles where the serpentine belt drives other systems, such as the alternator or power steering pump, issues in these areas could indicate a problem with the A/C belt.
Tools Required for 49.2.5 A/C Belt Replacement
Having the right tools on hand is crucial for a smooth and successful belt replacement. Here’s what you’ll need:
Essential Tools:
- Socket Set: For removing bolts and components.
- Wrench Set: To adjust the tensioner and remove the belt.
- Belt Tensioner Tool: Helps in relieving tension on the old belt and installing the new one.
- Screwdriver: For removing covers or panels if needed.
- Flashlight: To help see in tight spaces.
- New 49.2.5 A/C Belt: Ensure you purchase the correct belt for your vehicle.
Step-by-Step Guide to Replacing the 49.2.5 A/C Belt
Replacing the 49.2.5 A/C belt is a task you can tackle on your own with the right guidance. Follow these steps to ensure a successful replacement:
Step 1: Prepare Your Vehicle
- Park on a Level Surface: Make sure your vehicle is on a flat surface and the parking brake is engaged.
- Disconnect the Battery: For safety, disconnect the negative terminal of the battery to prevent any electrical mishaps.
Step 2: Locate the A/C Belt
- Open the Hood: Access the engine compartment by lifting the hood.
- Identify the Belt Path: Locate the A/C belt and note its routing. You can also refer to the belt routing diagram found under the hood or in the owner’s manual.
Step 3: Release the Belt Tension
- Locate the Belt Tensioner: Find the tensioner, a spring-loaded pulley designed to keep the belt tight.
- Use a Tensioner Tool: Insert the tool into the tensioner and apply pressure to relieve tension on the belt.
- Remove the Old Belt: Once the tension is released, carefully slide the old belt off the pulleys.
Step 4: Install the New 49.2.5 A/C Belt
- Align the Belt: Position the new belt according to the routing diagram, making sure it sits properly on each pulley.
- Release the Tensioner: Slowly release the tensioner, allowing it to apply tension to the new belt.
- Double-Check the Alignment: Ensure the belt is correctly aligned on all pulleys before moving on.
Step 5: Reconnect the Battery and Test
- Reconnect the Battery: Attach the negative terminal of the battery.
- Start the Engine: Turn on the engine and check for any unusual noises or vibrations.
- Test the A/C System: Turn on the air conditioning to ensure it’s working properly.
Tips for Maintaining Your New A/C Belt
Proper maintenance of your new 49.2.5 A/C belt can extend its lifespan and prevent future issues. Here are some tips:
1. Regular Inspections:
- Periodically check the belt for signs of wear or damage.
2. Listen for Noises:
- Pay attention to any unusual sounds when the A/C is running, as this could indicate belt issues.
3. Replace Other Components as Needed:
- If the tensioner or other pulleys show signs of wear, replace them along with the belt to ensure optimal performance.
FAQs About 49.2.5 A/C Belt Replacement
1. How often should I replace the 49.2.5 A/C belt?
- Typically, the A/C belt should be replaced every 50,000 to 70,000 miles, but check your vehicle’s manual for specific recommendations.
2. Can I drive with a broken A/C belt?
- It’s not recommended, as a broken belt can affect other systems in your vehicle, depending on whether it powers other components.
3. What happens if the A/C belt isn’t replaced?
- Ignoring a worn belt can lead to complete A/C failure and potentially cause damage to other engine components.
4. Is it difficult to replace the 49.2.5 A/C belt?
- With the right tools and instructions, replacing the belt is a manageable DIY task for most people.
5. What should I do if my new belt squeals after installation?
- Ensure the belt is properly tensioned and aligned. If the squealing persists, it may be necessary to recheck the installation or inspect other related components.